I just entered an awesome giveaway by CouponCup.
Here is the link for your chance to enter:
http://www.couponcup.net/win-a-100-amazon-gift-card-couponcup-giveaway/
Wednesday, August 8, 2012
Friday, March 25, 2011
The Art of Logging A Bed
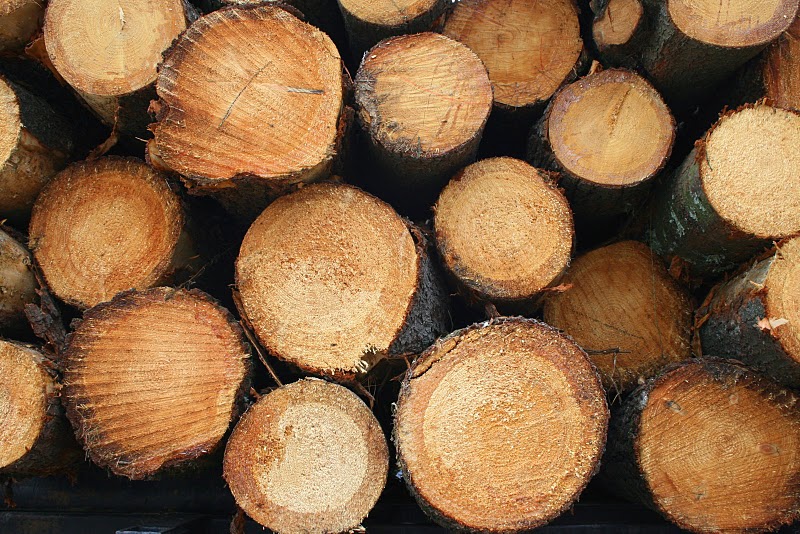 My husband and I are fans of the log cabin, rustic decor. We always wanted a log bed, but after visiting a few shops we were a little hesitate shelling out a couple thousand dollars for a bed. "How about making one ourselves?" my husband asked. I was a little nervous about taking on such a project but I thought we could do it. That winter we started our project. Hubby hoisted the saw up on his shoulder and off we headed into the woods. We staked out several trees that we thought we straight and had "character" (a favorite term of my husband). With our treasury dragging behind, we trotted off back home to stow away our find. The logs sat in an old fishing shack from spring to late fall. They had dried considerably.
We then hand peeled the logs and cut them to size. We laid out the pieces and lettered them. Each was hand sanded, which mind you took forever, the wood we had chosen was iron wood. We doweled in each piece , resanded, and stained the final product. All in all, the $2500 bed we fell in love with, cost us a total of $52.40 by making it ourselves, and in the end was way more valuable!

Wednesday, March 23, 2011
Owls, Owls, Owls!
 I'm an owl fanatic. How bout you? I just found one of the cutest baby hat shops on Etsy. The shop is run by a young woman who donates part of her sales to the March of Dimes. How cool is that! Not only is she caring, but her work is adorable!
If you find yourself wanting to spice up your children's head gear, I strongly suggest visiting her shop, MyasEyes. Pictured are some adorable samples from MyasEyes.

Tuesday, March 22, 2011
Project Pinecone!

Below are the steps I took to make my pine cone ornaments.
Step 1: Select the best shaped pinecones for your project. I picked up many of these at my in-laws house.
Step 2: Clean the pine cones. Submerge them in very warm water and 1 cup vinegar. Let sit for a half hour or so. Set out some old newspaper. After soaking, arrange the pine cones on the old newspaper and allow to dry for 3 to 5 days or until dry. During drying they will slowly re-open.
Step 3: After all the pine cones have been dried, I painted on stain them in a dark brown color. Then I allowed them to dry again. It will take between 1 to 2 days to dry, depending on the amount of stain on each pine cone.
Step 4: Now that the stain has dried, pine cones are ready for their next step. On the bottom of the pine cone, in the stem hole, I twisted in a small eye hook. I had chosen gold eye hooks for this project.
Step 5: All the eye hooks have been placed, I then added some greenery. I purchased some garland picks from my local craft store.
Step 6: After the greenery, I added some holly berries. I chose red and burgandy. I also got these off of some holly picks from the craft store. I just cut the individual berries off the pick.
Step 7: Now that the berries and greenery has been added the final addition to the top of the ornament is some ribbon. I added some plaid ribbon for accent.
Step 8: I wanted to give some more color to the pine cone itself, so I added some "fake" snow to the bottom tips of the pine cones. I wanted to give the appearance of the pine cone just being dipped into fresh snow.
 |
| Not actual ornament but very similar. |
I packaged mine in a Christmas box that I made out of a hatbox. I added a plush red pillowy inside for the pine cones to sit on.
What other crafty ideas do you have for these pine cones?
Subscribe to:
Posts (Atom)